
Making sourdough bread at home is simple and rewarding. You only need flour, water, salt, and patience.
Sourdough bread has a rich history and unique flavor. Unlike commercial bread, sourdough relies on natural fermentation. This process enhances the bread’s taste and nutritional value. Many home bakers find joy in nurturing their starter, a mix of flour and water that captures wild yeast.
With just a few basic ingredients and some time, you can bake delicious sourdough at home. The process may seem daunting, but it’s straightforward with the right guidance. This guide will walk you through each step, from creating your starter to baking the perfect loaf. Get ready to enjoy the aroma and taste of homemade sourdough bread.
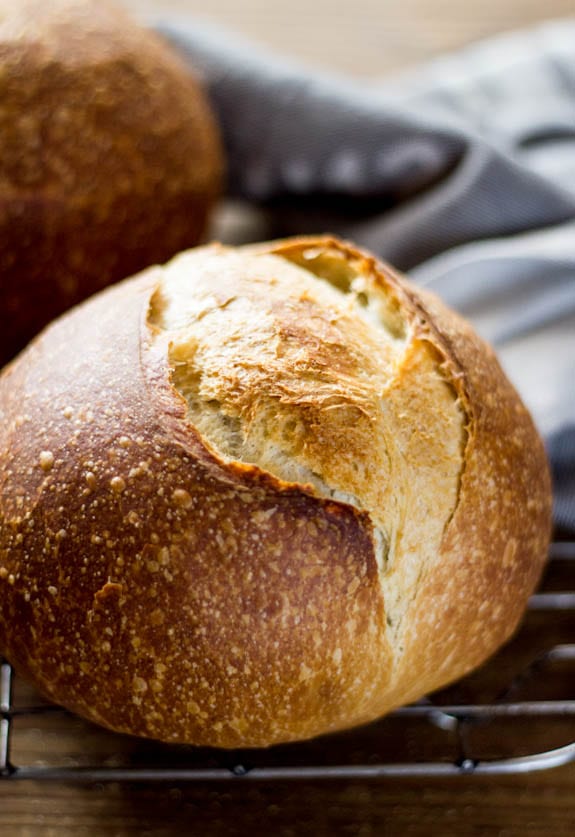
Credit: www.theclevercarrot.com
Introduction To Sourdough Bread
Are you excited to make sourdough bread at home? This guide will help you. Sourdough bread is a fun and rewarding project. Let’s dive into what makes it special.
What Is Sourdough?
Sourdough is a type of bread made from a natural starter. The starter is a mix of flour and water. This mix ferments over time. Wild yeast and bacteria make the dough rise.
Unlike commercial yeast, wild yeast is found in the air. It gives sourdough its unique taste. This process has been used for thousands of years.
Benefits Of Sourdough
Sourdough bread has many health benefits. Here are some:
- Improved Digestion: The fermentation process breaks down gluten. This makes it easier to digest.
- Better Nutrient Absorption: Fermentation increases the bioavailability of nutrients. Your body absorbs them better.
- Low Glycemic Index: Sourdough has a lower glycemic index. This helps control blood sugar levels.
Besides health benefits, sourdough tastes amazing. It has a tangy, rich flavor. The crust is crisp, and the inside is soft.
Essential Ingredients
Creating delicious sourdough bread at home starts with the right ingredients. Each component plays a crucial role in the final product. Let’s explore the essential ingredients you need for perfect sourdough bread.
Flour Types
Choosing the right flour is key to great sourdough. Here are some common types you can use:
- All-Purpose Flour – Suitable for beginners, easy to find.
- Bread Flour – High protein, gives better structure.
- Whole Wheat Flour – Adds flavor, needs more hydration.
- Rye Flour – Unique taste, improves fermentation.
Mixing different flours can create unique flavors. Experiment to find your favorite combination.
Water Quality
Water is more than just a liquid in your dough. Its quality affects fermentation and flavor. Use filtered water to avoid chlorine and impurities. Room temperature water works best for mixing and fermenting.
Starter Basics
The starter is the heart of sourdough bread. It’s a mixture of flour and water, fermented over days. Follow these steps to make a starter:
- Mix equal parts flour and water in a jar.
- Cover loosely and let it sit at room temperature.
- Feed it daily with fresh flour and water.
- Wait until it bubbles and smells tangy.
A healthy starter has a pleasant, tangy smell and bubbles. It’s ready to use in your sourdough recipe.
Tools You Need
Making sourdough bread at home is a delightful journey. To start, you need the right tools. This section covers everything you need for a smooth baking experience.
Kitchen Essentials
First, gather some basic kitchen tools. These items are probably already in your kitchen.
- Mixing Bowls: Stainless steel or glass bowls work best.
- Measuring Cups and Spoons: Accurate measurements are key.
- Wooden Spoon: Ideal for mixing your dough.
- Kitchen Scale: Precision is crucial in baking.
- Plastic Wrap: Useful for covering dough while it rises.
Specialized Tools
These specialized tools enhance the baking process. They help you achieve perfect sourdough bread.
- Bench Scraper: Helps in handling and shaping dough.
- Proofing Basket (Banneton): Gives your dough its shape.
- Dutch Oven: Creates a steamy environment for baking.
- Lame (Baking Blade): Used for scoring the dough.
- Digital Thermometer: Ensures your bread is baked perfectly.
Having these tools ready makes the sourdough baking process smoother. Happy baking!
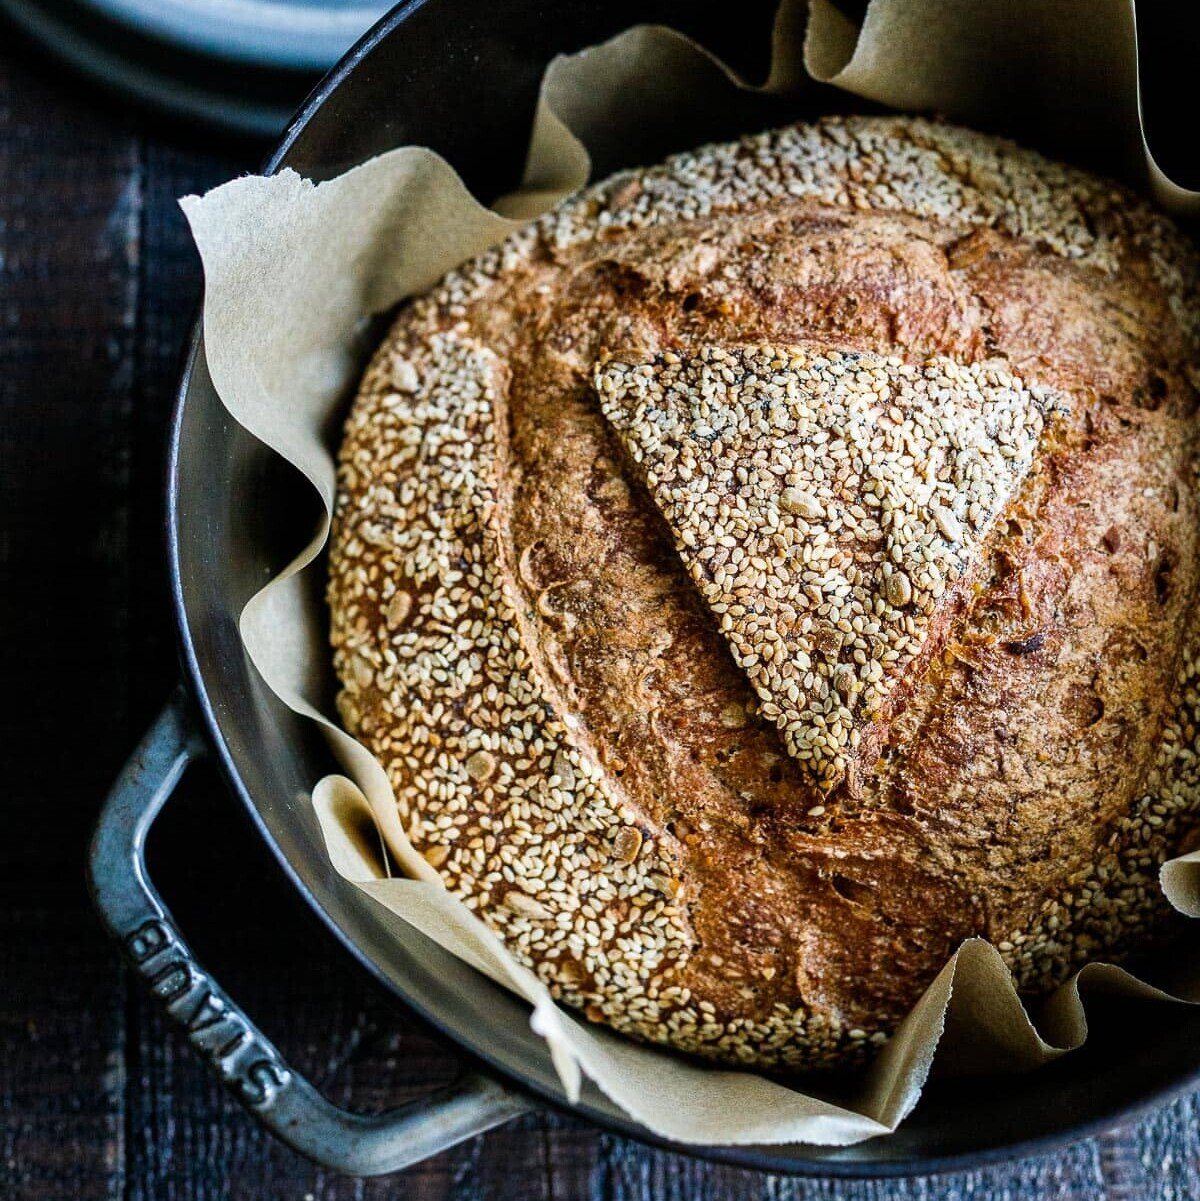
Credit: www.feastingathome.com
Making The Starter
Creating a sourdough starter is the first step in making sourdough bread. This starter will capture wild yeast from the air. Follow these steps to make your starter from scratch.
Initial Mix
To start, you need just two ingredients: flour and water. Use equal parts by weight. For example, mix 100 grams of flour with 100 grams of water.
- Use a clean jar or bowl.
- Mix until there are no dry bits of flour.
- Cover loosely with a cloth to let air in.
- Leave it at room temperature.
Daily Feeding
Feed your starter daily to keep it alive and growing. Each day, discard half of the starter. Add 50 grams of fresh flour and 50 grams of water.
- Mix well until smooth.
- Cover loosely again.
- Repeat this process every day.
After about 5-7 days, your starter should be bubbly and active. This means it is ready to use for baking!
Preparing The Dough
Preparing the dough is a crucial step in making sourdough bread. It sets the foundation for the bread’s texture and flavor. Follow these steps for a successful and delicious sourdough loaf.
Mixing Ingredients
To begin, gather all the necessary ingredients:
- Flour: 500 grams
- Water: 350 grams
- Sourdough Starter: 100 grams
- Salt: 10 grams
In a large bowl, mix the flour and water. Stir until the mixture is well combined. The mixture should be sticky and shaggy.
Autolyse Process
Let the mixed dough rest for 30 minutes. This rest period is called autolyse. It helps the flour absorb water and makes the dough easier to work with.
| Step | Time |
|---|---|
| Mix flour and water | 5 minutes |
| Rest (autolyse) | 30 minutes |
After the autolyse process, add the sourdough starter and salt to the dough. Mix well until both are fully incorporated. This process should take about 5 minutes.
Once all ingredients are mixed, the dough is ready for the next steps. Properly mixed and rested dough is key to a successful sourdough bread.
Kneading And Folding
Making sourdough bread can be a fun and rewarding experience. Two essential steps in this process are kneading and folding. These steps help develop the dough’s gluten structure and improve its texture. Let’s explore kneading techniques and folding methods for perfect sourdough bread.
Kneading Techniques
Kneading is crucial for developing gluten in the dough. Here are some simple techniques:
- Push and Fold: Push the dough away with your palm, then fold it back.
- Stretch and Fold: Stretch the dough, then fold it over itself.
- Slap and Fold: Lift the dough, slap it onto the surface, then fold it.
Repeat these steps until the dough is smooth and elastic. This usually takes about 10 minutes.
Folding Methods
Folding helps strengthen the dough without overworking it. Here are effective folding methods:
- Coil Fold: Lift the dough’s center, then tuck it under itself.
- Letter Fold: Fold the dough like a letter into thirds.
- Envelope Fold: Fold each side towards the center, like an envelope.
Perform these folds during the bulk fermentation phase. This helps build structure and develop flavor.
Proofing The Dough
Proofing the dough is a crucial step in sourdough bread making. It allows the dough to rise and develop flavor. This process involves two main stages: the first proof and the second proof. Both stages are important for achieving the perfect loaf.
First Proof
The first proof, also known as bulk fermentation, is where the magic starts. After mixing the ingredients, place the dough in a large bowl. Cover it with a damp cloth to keep it moist. Let the dough rest at room temperature for 4 to 6 hours. During this time, the dough will rise and double in size.
Make sure the dough is in a warm place. The ideal temperature is around 75°F (24°C). If your kitchen is cold, you can place the bowl in the oven with the light on. This will create a warm environment. Every 30 minutes, stretch and fold the dough. This helps develop the gluten structure. Do this for the first 2 hours of proofing.
Second Proof
After the first proof, it’s time for the second proof. This step shapes the dough and prepares it for baking. Start by gently deflating the dough. Use your hands to shape it into a round or oval loaf. Place the shaped dough into a proofing basket or a bowl lined with a floured cloth.
Cover the dough again with a damp cloth. Let it rest for another 2 to 4 hours at room temperature. For a more complex flavor, you can also refrigerate the dough overnight. This slows down the fermentation and enhances the taste.
| Proofing Step | Time | Temperature |
|---|---|---|
| First Proof | 4-6 hours | 75°F (24°C) |
| Second Proof | 2-4 hours | Room Temperature |
| Optional Second Proof | Overnight | Refrigeration |
During both proofing stages, keep the dough moist and warm. This ensures proper fermentation. By following these steps, you will achieve a delicious, airy sourdough loaf.
Baking The Bread
Making sourdough bread at home is a rewarding process. The final step, baking the bread, is crucial for a perfect loaf. This section will guide you through preheating the oven and baking tips.
Preheating The Oven
Start by preheating your oven to 450°F (230°C). This high temperature is essential for a good crust. Place a Dutch oven or a baking stone inside the oven as it preheats. This ensures even heat distribution and a better rise.
Baking Tips
Before placing your dough in the oven, score the top with a sharp knife. This helps control the expansion. Transfer the dough carefully to the preheated Dutch oven or baking stone.
- Bake with the lid on for the first 20 minutes.
- Remove the lid and bake for an additional 25-30 minutes.
- Check for a golden-brown crust and an internal temperature of 210°F (99°C).
Let the bread cool on a wire rack for at least an hour. This helps set the crumb structure. Now, your homemade sourdough bread is ready to enjoy!
Storing And Enjoying
Making sourdough bread at home is a rewarding experience. But after baking, it’s crucial to store it properly to keep it fresh. Also, knowing the best ways to serve it can elevate your bread-eating experience. Let’s dive into the details of storing and enjoying your homemade sourdough bread.
Proper Storage
Storing your sourdough bread the right way ensures it stays fresh longer. Follow these tips:
- Room Temperature: Keep your bread at room temperature, wrapped in a clean kitchen towel or in a paper bag. This allows the crust to stay crisp.
- Avoid Plastic: Never store sourdough in plastic bags. It traps moisture, making the crust soggy.
- Freezing: To store for longer periods, slice the bread and freeze it. Use a freezer-safe bag and remove as much air as possible.
Serving Suggestions
Sourdough bread can be enjoyed in many ways. Here are some ideas:
- Toast: Lightly toast slices for a crunchy texture. Spread butter or jam for a simple treat.
- Sandwiches: Use sourdough slices for your favorite sandwiches. The tangy flavor complements many fillings.
- Garlic Bread: Brush slices with garlic butter and bake until golden. It’s perfect with pasta or soup.
- Croutons: Cube the bread, toss with olive oil and herbs, and bake. Use these croutons in salads or soups.
| Storage Method | Duration |
|---|---|
| Room Temperature | 2-3 days |
| Freezer | 1 month |
Experiment with these methods and find your favorite way to enjoy sourdough bread. Happy baking!
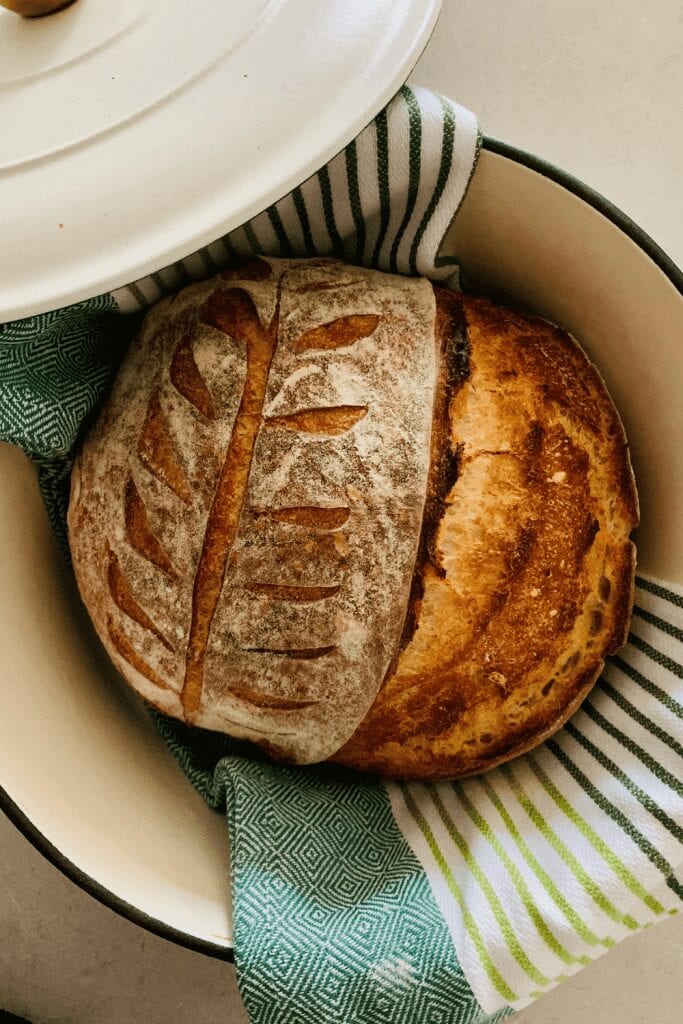
Credit: www.pantrymama.com
Frequently Asked Questions
What Ingredients Are Needed For Sourdough Bread?
You need flour, water, salt, and a sourdough starter. The starter is a mix of flour and water fermented with wild yeast.
How Long Does It Take To Make Sourdough Bread?
The process typically takes 24 to 48 hours. This includes mixing, fermenting, shaping, and baking.
Do I Need Special Equipment For Sourdough Bread?
Basic kitchen tools like a mixing bowl, dough scraper, and a Dutch oven are sufficient. A digital scale helps with measurements.
Why Is My Sourdough Bread Dense?
Dense bread can result from underproofing, insufficient kneading, or a weak starter. Ensure your dough rises adequately.
Conclusion
Crafting sourdough bread at home is simpler than it seems. With patience and practice, anyone can master it. Follow our easy guide to enjoy fresh, delicious homemade sourdough. Share your baking journey with friends and family. Happy baking!